How to setup a wordpress website step-by-step?
In this post/tool, I show you how to setup a wordpress website on a private Ubuntu server with nginx and mysql already installed on it.
You can tailor the steps according to your website name. If not, I assume your website is example.com.
Check everything is ready
First of all, make sure my sql server is installed:
mysqld --versionand running:
sudo systemctl status mysqlNext, is to check nginx is installed:
nginx -vand running:
sudo systemctl status nginxThen, ensure PHP is installed:
php -vand run:
systemctl list-units --type=service | grep phpand make sure this is an fpm php. i.e. the word fpm is printed within the result.
To have an https website, you need Certbot. Ensure Certbot is installed
certbot --versionIf not yet installed, install it
sudo apt install certbot python3-certbot-nginxDownload wordpress
We would like to put the output in `/var/www/html/wordpress/` directory. Thus, make sure it exists:
sudo mkdir -p /var/www/html/wordpress/We also use a temporary folder. We need to make sure it is ready and clean
sudo mkdir -p /var/www/html/wordpress/tmp
sudo rm -rf /var/www/html/wordpress/tmp/wordpress
also make sure your target directory does not exist from previous attempt:
test -d /var/www/html/wordpress/ && echo "Error: The target directory already exists." You should observe no error message!
The next step is to download the latest wordpress from its official website and extract it:
cd /var/www/html/wordpress/tmp/
sudo wget https://wordpress.org/latest.tar.gz
sudo tar -xvzf latest.tar.gz
sudo mv /var/www/html/wordpress/tmp/wordpress /var/www/html/wordpress/
sudo rm latest.tar.gz
Create a new database
This is a good practice to create a new database and a new user for each wordpress website
If you run mysql locally, simply run it via sudo command as follows
sudo mysqlBut, if your database is remote, you need to specify the username, password and host
mysql -u root -h hostname -pChange root and hostname to your actual username and host domain or IP.
CREATE DATABASE ;
CREATE USER 'user_'@'localhost' IDENTIFIED BY 'password';
GRANT ALL PRIVILEGES ON .* TO 'user_'@'localhost';
FLUSH PRIVILEGES;
EXIT;
Attention: Do not forget to change the password with your own password.
Nginx configuration
First, you need to create an nginx configuration within the available websites:
sudo nano /etc/nginx/sites-available/.confAdd proper settings to your website config such as
server {
    root /var/www/html/wordpress/;
    index index.php index.html;
    server_name  www.;

    access_log /var/log/nginx/.access.log;
    error_log /var/log/nginx/.error.log;

    location / {
        try_files $uri $uri/ =404;
    }

    location ~ \.php$ {
                 include snippets/fastcgi-php.conf;
                 fastcgi_pass unix:/run/php/php-fpm.sock;
    }

    location ~ /\.ht {
                 deny all;
    }

   location = /favicon.ico {
                 log_not_found off;
                 access_log off;
    }

    location = /robots.txt {
                 allow all;
                 log_not_found off;
                 access_log off;
    }

    location ~* \.(js|css|png|jpg|jpeg|gif|ico)$ {
                 expires max;
                 log_not_found off;
    }
}
Next, enable your php website:
sudo ln -s /etc/nginx/sites-available/.conf /etc/nginx/sites-enabled/To apply the effect, test the website Nginx configs have no error and if everything looks fine, restart the Nginx:
sudo nginx -t
sudo systemctl reload nginx
Enable Certbot for your website:
sudo certbot --nginx -d -d www.So, your secure website runs on https. I expect Certbot takes care of reloading Nginx; thus no need to restart it.
Installing the wordpress website
The first step to install a wordpress website is to prepare the config file and edit it for your needs:
cd /var/www/html/wordpress//
sudo cp wp-config-sample.php wp-config.php
sudo nano wp-config.php
In this file, set the database configs as you have defined in the database preparation:
/** The name of the database for WordPress */
define( 'DB_NAME', '' );

/** Database username */
define( 'DB_USER', 'user_' );

/** Database password */
define( 'DB_PASSWORD', 'your database password' );

/** Database hostname */
define( 'DB_HOST', 'localhost' );

/** Database charset to use in creating database tables. */
define( 'DB_CHARSET', 'utf8' );

/** The database collate type. Don't change this if in doubt. */
define( 'DB_COLLATE', '' );
Make sure you set the database password correctly. I cannot help you on that!
If you scroll further down, there are some secure keys to be specified as follows by default:
define('AUTH_KEY',         'put your unique phrase here');
define('SECURE_AUTH_KEY',  'put your unique phrase here');
define('LOGGED_IN_KEY',    'put your unique phrase here');
define('NONCE_KEY',        'put your unique phrase here');
define('AUTH_SALT',        'put your unique phrase here');
define('SECURE_AUTH_SALT', 'put your unique phrase here');
define('LOGGED_IN_SALT',   'put your unique phrase here');
define('NONCE_SALT',       'put your unique phrase here');
You need to edit them. These phrases must valued with unique secure keys. If You are looking for a secure key generator, the Wordpress website has them ready for you at wordpress secret keys.
Attention: Do not leave your unique keys as default nor choose weak phrases.
Also make sure the debug mode is off. It should be off by defualt, but still good to double check.
define('WP_DEBUG', false);Additionally, for security reasons, adjust your file permissions properly:
sudo find /var/www/html/wordpress// -type f -exec chmod 664 {} +
sudo find /var/www/html/wordpress// -type d -exec chmod 775 {} +
sudo chmod 660 /var/www/html/wordpress//wp-config.php
sudo chown -R www-data:www-data /var/www/html
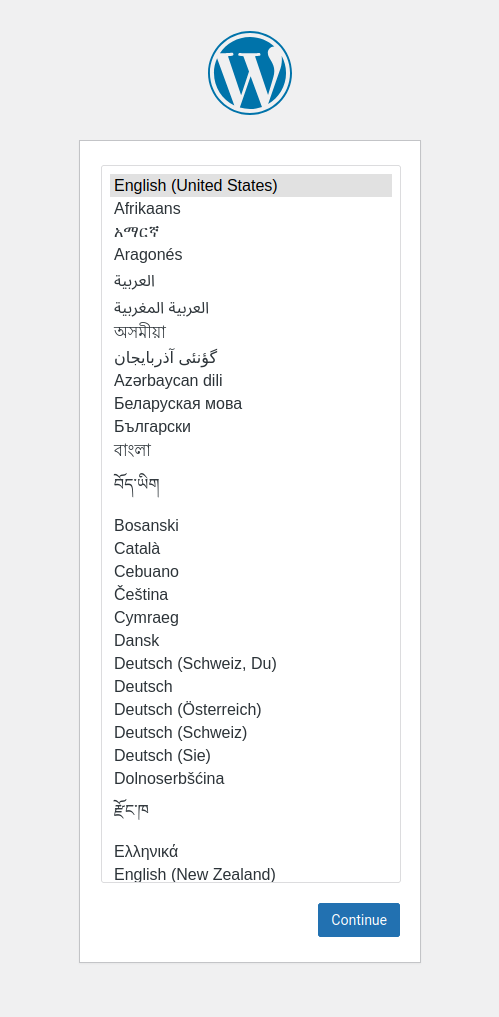
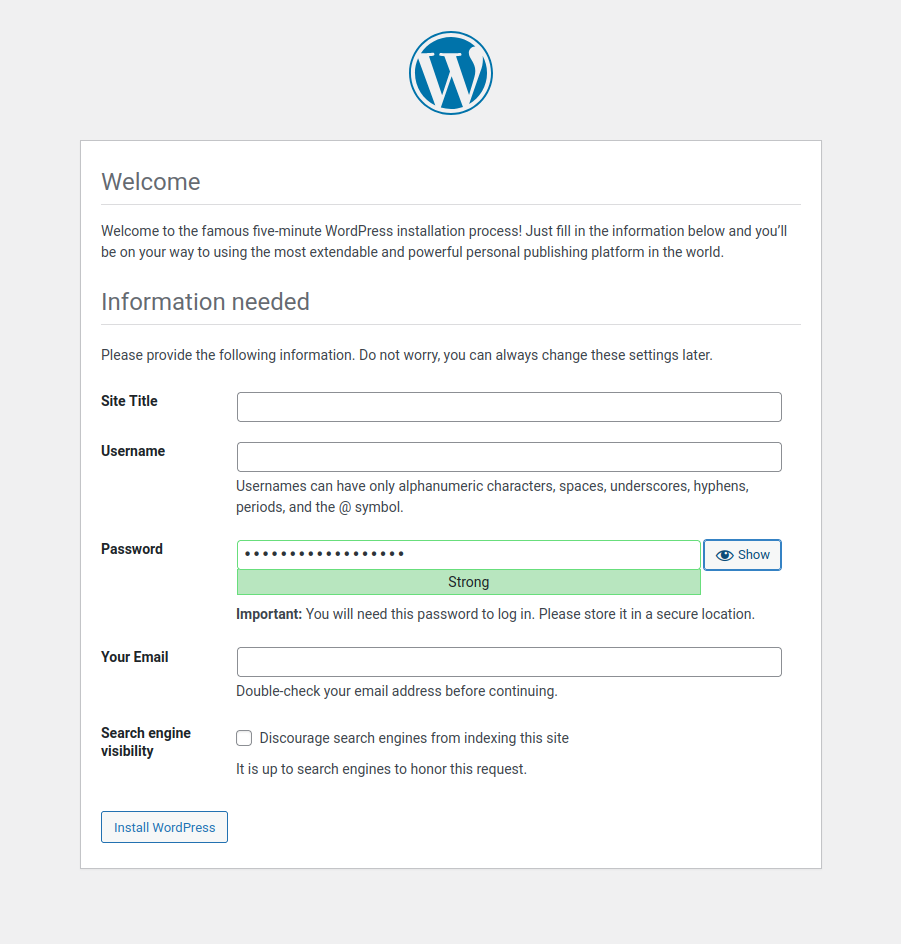
Now, load your wordpress website install before others do it:
Congratulations, the rest of procedure is straight forward.


Recommended settings
In php.ini, it is recommended to change some PHP settings:
sudo nano /etc/php//fpm/php.iniAnd increase several capacities minimum to these values for a smoother run of the website:
memory_limit = 512M
max_execution_time = 300
max_input_vars = 5000
upload_max_filesize = 64M
post_max_size = 64M
Followed by restarting php to apply the changes:
sudo systemctl restart php-fpm